Before going out for a ride, especially if you haven’t ridden your bike in a while, it’s important to give your bike a once over. Safety is a priority so it’s good to make sure everything is working well and fit for purpose.
So, what should you check and when?
A good place to make sure you cover quite a lot is what’s called an M check. Start with your rear wheel, and as it’s named, you work your way around your bike in an M shape, from the rear wheel, moving to the seat, down to the bottom bracket then up to the handlebars and down to the front wheel.
What to check on your bike:

Wheels
When checking your wheels ensure skewers are tight and your wheel doesn’t wobble and spins freely. Check your rim over for any signs of wear, cracks or large dents. If you discover anything, it may be worth getting it checked to see if the rim is compromised. Take the time to check your spokes too, check tension and whether any seem to be loose, or snapped. If it does like this is the case, check in with your local bike shop for advice or repair.
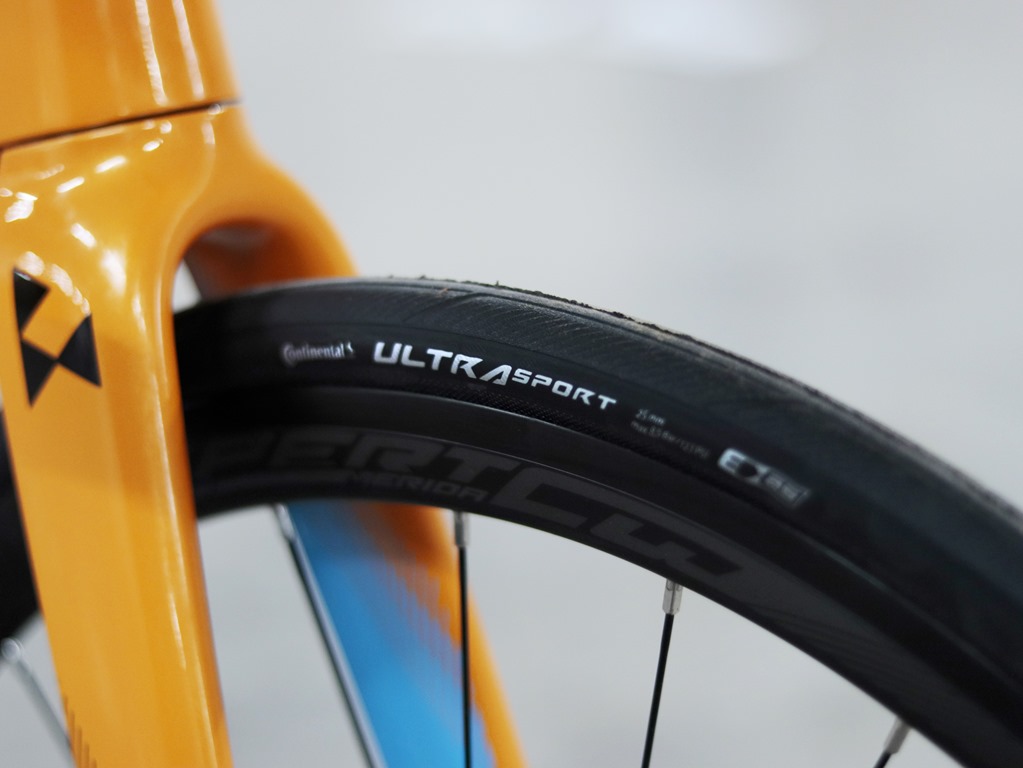
With your tyres, check for any signs of cracking or excessive wear. Then, by using a pump check your tyre pressure (for this, a pump with a pressure gauge is best). If you’re unsure of what pressures to use, just like most car tyres, bicycle tyres will have details on the tyre that detail recommended PSI. As a rough guide to pressures:
Hybrid bikes: 50-70 PSI
Children’s bikes: 20-40 PSI
Mountain bike: 20-40 PSI
Road bikes: 80-120 PSI
Pressures will differ depending on a number of different factors such as conditions, rider weight, type of surface, whether you are tubeless or using an inner tube so there is no hard as fast rule about pressures, it’s worth experimenting and seeing what pressures work for you and the bike you ride.

Seatpost
Give everything a quick check in this area making sure there is no movement in your saddle. If your saddle moves, readjust and check the bolts to make sure everything is tight. Also take time to check your seatpost clamp bolts are tight.

Bottom bracket
Whilst checking your bottom bracket, take time to check over your cranks and pedals. When holding each crank arm, rock them back and forth to check for any play. You should also spin your cranks to see if everything rotates smoothly with no resistance. This is the same with your pedals, check them over to see if they spin freely.
Stock up on Tools and Accessories:


Handlebars/headset
Standing over your bike or in front of it with the front wheel between your legs to stop movement, move the bars back and forth to check for any movement. If your bars move, you will need to readjust and check your stem and headset bolts.
To check your headset, hold your front brake in, put one hand on the headset and rock the bike feeling for any movement. If everything is tight and there feels like there’s any play or movement, the headset may need to be serviced or replaced before riding.

Brakes
Give your brakes a general check, make sure they don’t move from their position on the bar if you try to adjust, if they do make sure to check the bolts are tight. You can also check your brake pads and cables to make sure there are no obvious signs of wear.

Chain
Shift through your gears to make sure everything changes smoothly. Chains are subject to wear and tear, so ensure you keep your chain clean and lubricated. If your chain is overstretched this can have an impact on shifting, if you’re unsure, take it to get a check up or service at a bike shop.

Bolts
It’s worth doing a bolt check every so often, if you have one, use a torque wrench to ensure you don’t over tighten bolts. If you don’t, hand tight should be ok, just be careful not to round anything or be tempted to get it as tight as you can (hand tight is usually fine). Check your stem, handlebar, seatpost mech and mech hanger bolts every few weeks (more often if you ride regularly) to ensure everything is tight.

Shop for Cycling Essentials:


